

Honey buns are a beloved sweet treat that have a rich history, particularly in Southern baking traditions. These delightful rolls combine a soft, fluffy dough with the natural sweetness of honey, creating a comforting and satisfying snack. Traditionally, they were often made at home to celebrate special occasions or simply to enjoy with family. Their popularity has spread beyond the South, making them a favorite across the country, especially at breakfast tables and bakeries.
Why I Love Honey Buns Recipe
What I adore most about this honey bun recipe is its ability to evoke feelings of warmth and togetherness. I fondly remember the weekends spent in my grandmother’s kitchen, where the sweet smell of honey buns baking would fill the air. It was a time when family gathered around the table, sharing stories and laughter while savoring these delicious rolls. Each bite brings back those cherished memories, making them more than just a treat; they are a connection to my roots.
Additionally, I appreciate the simplicity of this recipe. With just a few basic ingredients, anyone can whip up a batch of honey buns without feeling overwhelmed. It’s a perfect blend of ease and deliciousness that encourages even novice bakers to give it a try. The joy of pulling warm, golden buns from the oven is truly rewarding, and sharing them with loved ones adds an extra layer of happiness to the experience.
Serving Suggestions For Honey Buns Recipe
Honey buns are not only delicious on their own but can also be elevated with various serving ideas that enhance their flavors and make them even more enjoyable.
- With Coffee: A warm honey bun paired with a steaming cup of coffee creates the perfect morning ritual, balancing the sweetness of the bun with the rich bitterness of the brew.
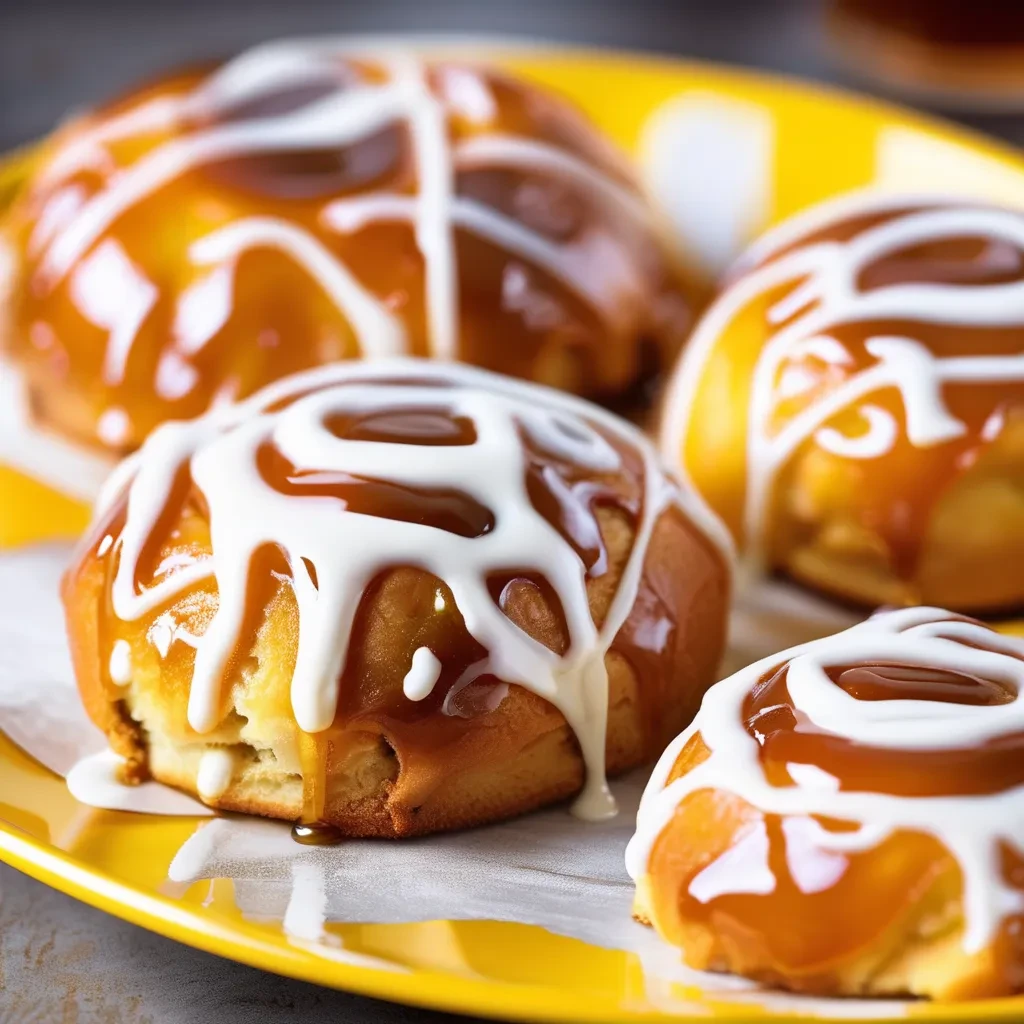
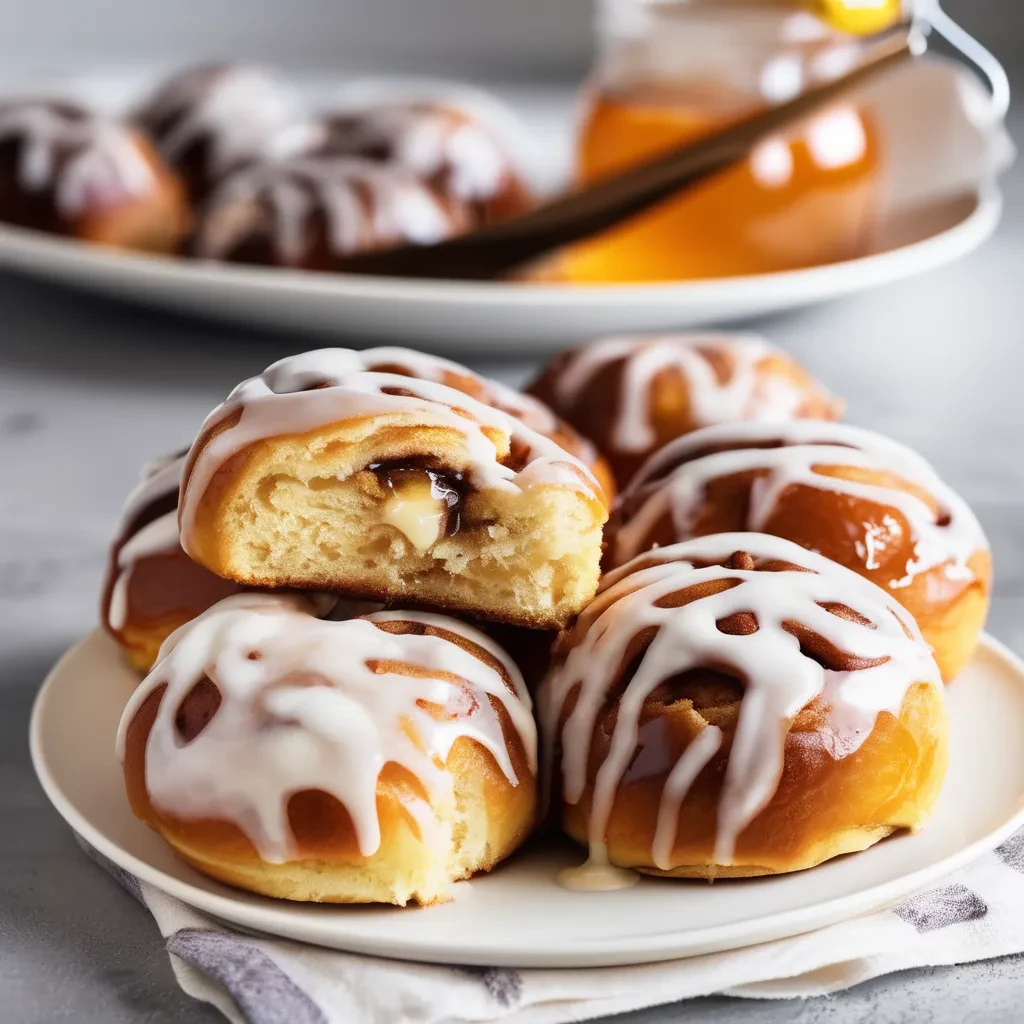
- Cream Cheese Frosting: Spread a layer of cream cheese frosting on top for an indulgent treat that adds a tangy twist to the sweetness of the honey.
- Toasted with Butter: Lightly toast the buns and spread a bit of butter on top for a warm, comforting snack that’s simply irresistible.
- With a Side of Yogurt: Serve honey buns alongside a bowl of yogurt and fresh fruit for a balanced breakfast that combines sweetness with creaminess.
No matter how you choose to serve them, honey buns are a delightful addition to any meal or snack time!
Variations For Honey Buns Recipe
If you’re looking to mix things up, there are countless variations of honey buns that can cater to different tastes and preferences.
- Maple Glaze: Instead of traditional icing, drizzle a maple glaze over the buns for a unique flavor that complements the honey beautifully.
- Berry Stuffed: Add a filling of mixed berries before rolling the dough for a fruity twist that brings a burst of flavor in every bite.
- Lemon Zest: Incorporate lemon zest into the dough for a refreshing citrusy kick that brightens the sweetness of the honey.
- Savory Twist: Try adding herbs like rosemary or thyme for a savory version that pairs well with cheese and charcuterie boards.
These variations allow you to customize your honey buns, making them suitable for any occasion or taste preference!
Storage and Shelf Life For Honey Buns Recipe
To ensure your honey buns remain fresh and enjoyable for days to come, proper storage techniques are essential. With the right methods, you can savor these delightful treats longer without sacrificing their flavor or texture.
- Airtight Container: One of the best ways to maintain the freshness of your honey buns is to store them in an airtight container at room temperature. This prevents them from drying out and helps retain their soft, fluffy texture. Generally, they will stay fresh for about 2-3 days this way. However, be sure to place them in a cool, dry area away from direct sunlight, as heat can hasten their spoilage.
- Refrigeration: If you live in a particularly warm or humid climate, you may want to consider refrigerating your honey buns. While this method can extend their shelf life, it’s important to note that refrigeration can slightly alter their texture, making them a bit denser. If you choose this route, try to consume them within a week for the best taste and quality.
- Freezing: For those who want to stock up on honey buns for a longer period, freezing is an excellent option. To do this, wrap each bun individually in plastic wrap, ensuring there are no air pockets, and then place them in a freezer-safe zip-top bag. This method can keep your honey buns fresh for up to three months. Be sure to label the bag with the date so you can keep track of their freshness.
- Thawing: When you’re ready to enjoy your frozen honey buns, simply take them out and let them thaw at room temperature for about an hour. If you prefer a freshly baked taste, you can warm them in the oven at a low temperature for a few minutes. This will revive their soft texture and bring back that just-baked aroma that makes honey buns so irresistible.
By following these storage tips, you can ensure that your honey buns remain delicious and enjoyable for as long as possible!
Health Benefits Of Honey Buns Recipe
While honey buns are undoubtedly a sweet treat, they can also offer some surprising health benefits when consumed mindfully and enjoyed as part of a balanced diet. Here are a few reasons to feel good about indulging in these delightful rolls.
- Natural Sweetener: One of the standout features of honey is its status as a natural sweetener. Unlike refined sugars, honey is rich in antioxidants, which help combat oxidative stress in the body. This makes honey a healthier alternative for sweetening your baked goods, allowing you to enjoy a treat that not only satisfies your sweet tooth but also provides some nutritional benefits.
- Energy Boost: The combination of honey and carbohydrates in honey buns provides a quick source of energy. This makes them an excellent option for a mid-afternoon snack or a pick-me-up before a workout. The natural sugars in honey can help replenish your energy levels, making these buns a great choice for busy days when you need a little extra fuel.
- Customizable Ingredients: One of the best aspects of making honey buns at home is the ability to customize the ingredients to enhance their nutritional profile. For instance, using whole grain flours instead of white flour can increase the fiber content, aiding digestion and providing sustained energy. Additionally, adding nuts, seeds, or dried fruits can introduce healthy fats and antioxidants, transforming your honey buns into a more balanced treat.
- Mindful Indulgence: Finally, taking the time to enjoy homemade treats like honey buns can foster mindfulness and gratitude. The act of baking, sharing, and savoring these rolls can create a special moment in your day. This mindfulness can lead to a more positive relationship with food, allowing you to enjoy your treats without guilt and appreciate the effort that goes into making them.
By indulging in honey buns mindfully and considering their nutritional aspects, you can enjoy these sweet delights while also benefiting from their wholesome ingredients.
Honey Buns Recipe
Equipment
- Mixing bowls
- Measuring cups and spoons
- Rolling Pin
- Baking sheet
- Parchment paper
- Oven
Ingredients
- 4 cups all-purpose flour
- ½ cup granulated sugar
- 1 packet active dry yeast
- ½ teaspoon salt
- 1 cup warm milk
- ¼ cup unsalted butter, melted
- 2 large eggs
- ½ cup honey
- 1 teaspoon vanilla extract
Instructions
- Activate the Yeast: In a mixing bowl, combine the warm milk, granulated sugar, and active dry yeast. Let it sit for about 5-10 minutes until it becomes frothy.
- Mix Wet Ingredients: In another bowl, whisk together the melted butter, eggs, honey, and vanilla extract.
- Combine Dry Ingredients: In a large mixing bowl, mix the flour and salt.
- Form the Dough: Pour the yeast mixture and the wet ingredients into the bowl with the flour. Mix until a dough forms. If it's too sticky, add a little more flour as needed.
- Knead the Dough: Turn the dough onto a floured surface and knead for about 5-7 minutes until smooth and elastic.
- First Rise: Place the dough in a greased bowl, cover with a kitchen towel or plastic wrap, and let it rise in a warm place for about 1 hour, or until it doubles in size.
- Shape the Buns: After the dough has risen, punch it down and turn it out onto a floured surface. Roll it out into a rectangle about 1/2 inch thick. Cut into squares or rounds, and place them on a baking sheet lined with parchment paper.
- Second Rise: Cover the shaped buns with a towel and let them rise for another 30 minutes.
- Preheat the Oven: Preheat your oven to 350°F (175°C).
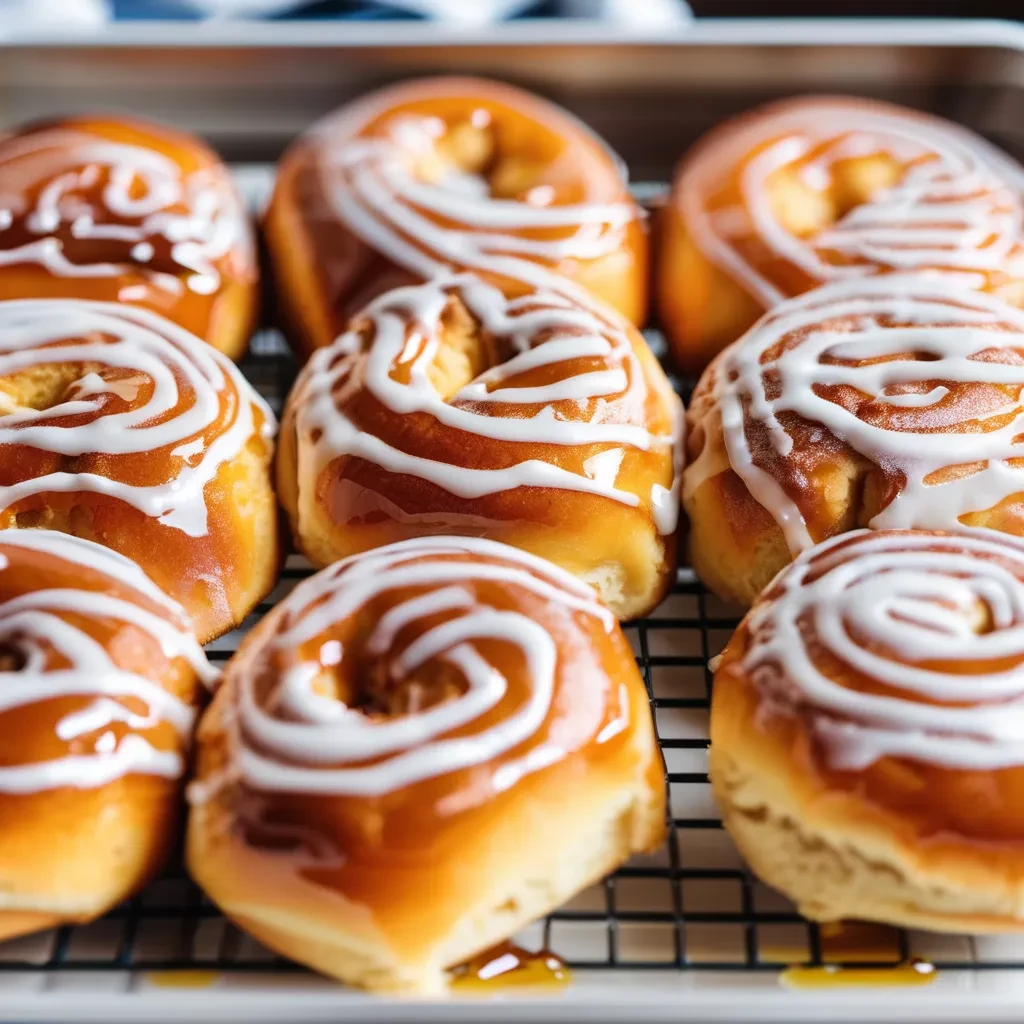
- Bake the Buns: Bake the buns in the preheated oven for 25-30 minutes, or until they are golden brown.
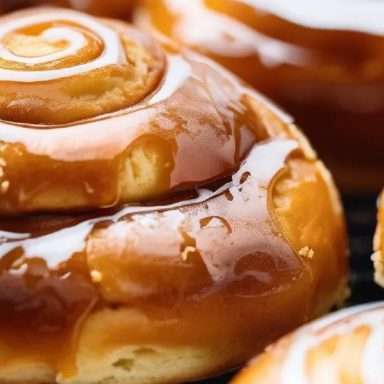
- Cool and Serve: Remove from the oven and let them cool slightly before serving. Drizzle with additional honey or icing if desired.
Related Video
Related Notes
- Room Temperature Ingredients: Ensure your eggs and milk are at room temperature for better incorporation into the dough.
- Kneading: Don’t skip the kneading step; it’s crucial for developing gluten, which gives the buns their fluffy texture.
- Rise in a Warm Place: For optimal rising, place your dough in a warm, draft-free area. You can turn on your oven for a few minutes, then turn it off and place the dough inside.
